Scaling Up and Down App Service Plans
Short-hand:
- ASE - App Service Environment
This will be a short blog since I will be only giving a brief overview of scaling up and down App Service plans. We will talk about how to scale up and down app service plans manually and automate scaling depending on workload. First, I want to give you a general overview of scaling up and down app services.
Overview of Scaling Up and Down App Service Plans
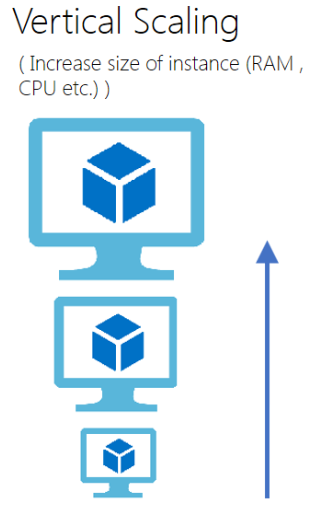
Scaling up also referred to as vertical scaling is tied to the Azure tier level you have set on your App Service Plan. Scaling up cost more because we are adding more compute resources such as CPU and Memory for our App Services to run on. There is an option to scale up to an isolated network (ASE) but keep in mind you Apps Services Plan can become costly. Another reason to scale up would be Azure adds more features to your App Service Plan as you scale up. Higher plans equels more features unlocked for your App Service Plan. One of the mmost important features would be deployment slots which is available at the Standard pricing teir.
Azure Deployment slots are actually live app with their own hostname. The main reason for deployment slots in an App Service Plan is to have multiple environments for development teams to deploy to such as the following.
-
Dev Environment
-
QA Environment
-
UAT Environment
-
Production Environment
-
Canary Ring Environment
This allows development teams working on different features to deploy to specific environments at the same time. Additionally, this allows for deployment slots developers can validate app changes in DEV and QA environments before swapping the feature into production.
App Service Plan also define the maximum number of instances you can have so you might scale up to the premium plan just so you can scale out. There are quotas for each tier for App Service Plan which is linked below.
Azure App Service Plan Tiers Link: https://azure.microsoft.com/en-us/pricing/details/app-service/windows/
If you reach the bandwidth limits on free or shared App Service Plan tiers your app will receive a 403 error. You will either have to wait until the quota resets or upgrade you App Service Plan. Essentially what is happening when you upgrade your App Service plan is the VMs(instances) your app is running on gets upgraded to bigger VMs with more compute resources. Scaling up can take anywhere between a few seconds and up to five minutes to complete. This is all dependent on which tier you are upgrading to and the workload running on you App Service Plan.
In terms of scaling up I would start at the lowest tier possible and scale up as needed. This means continuous monitoring of your App Service plan which we will talk about in an upcoming blog. When scaling up we want to think about maintenance windows during this time since the apps and jobs running on those can stop and be re-done when the scaling up process is completed. This means our jobs that we create for our app will need to be intelligent enough to know when a scale up is about to occur and gracefully shutdown before scale up begins.
To see if you have reached your storage quota on you App Service Plan tier you can log into Azure and open the App Service Plan. Navigate to the ‘File System Storage’, here you can see the threshold and usage of the storage your App Service plan has consumed.

Keep in mind that is the quota for the App Service Plan not the App Service running on that plan. To explicitly look at the storage quota for the App Service you will need to click on the App tab in the App Service plan page and select your app. Once you have selected your app, you can navigate to the quotas tab which is where you will see the Storage (File system usage) for that specific app.
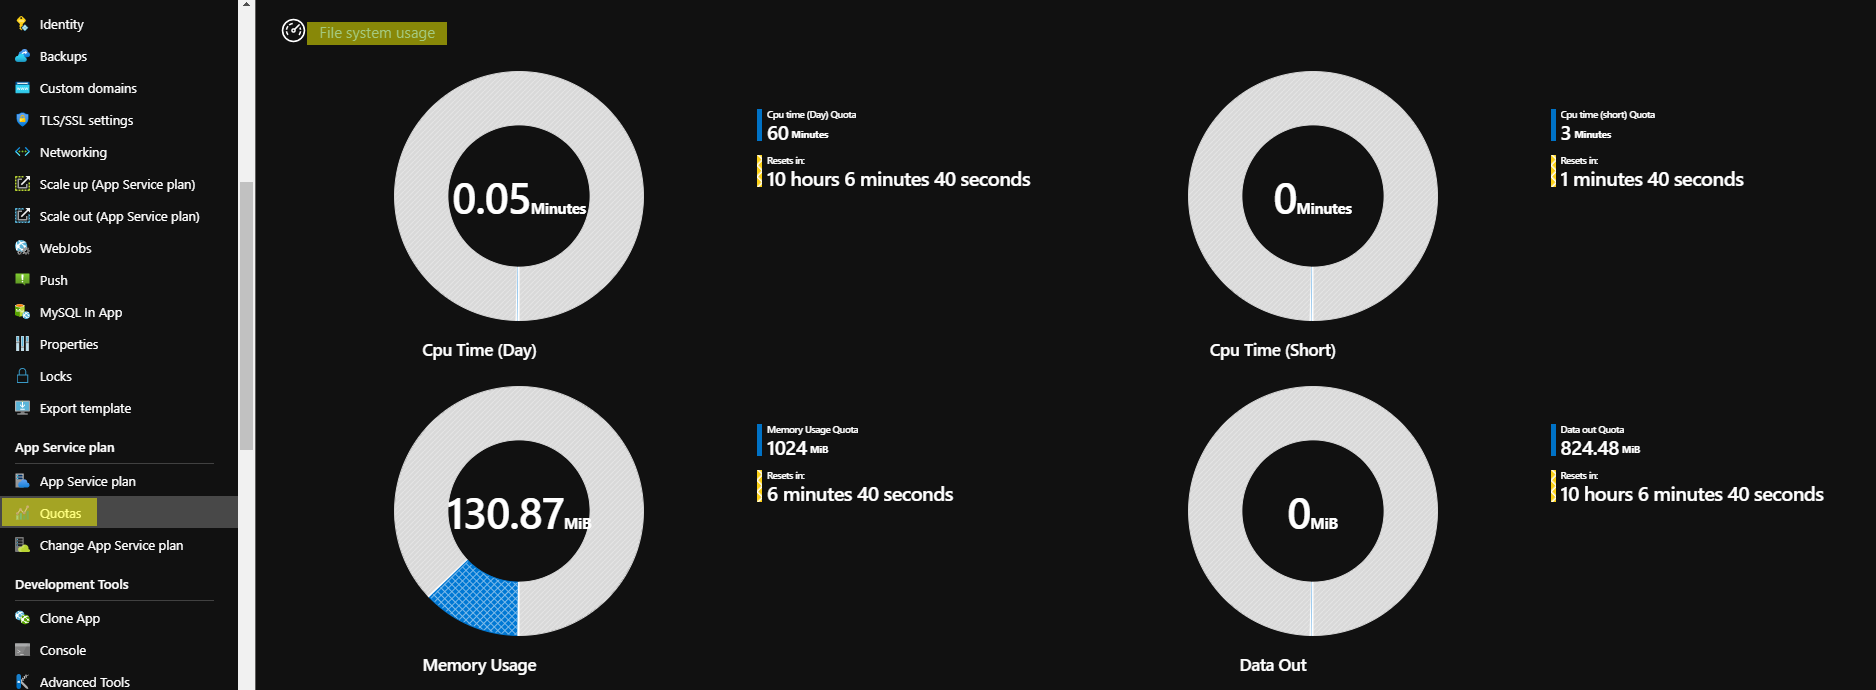
This page shows your resources quotas, what has been used, and when the quota resets. This is helpful when you are trying to determine when it is time to scale up to a new tier.
Scaling Up App Service Plan
Navigate to your App Service Plan that you would like to scale up and select the ‘Scale up (App Service Plan) tab. Here you will have the options to scale up or down your App Service Plan. Keep in mind when you scale down you App Service Plan you may lose features available at that tier. We are going to scale up to the ‘Shared Infrastructure’ tier under the ‘Dev/Test’ tab. This will give us more compute time (240 minutes per day). Select the D1 pricing tier and click apply.
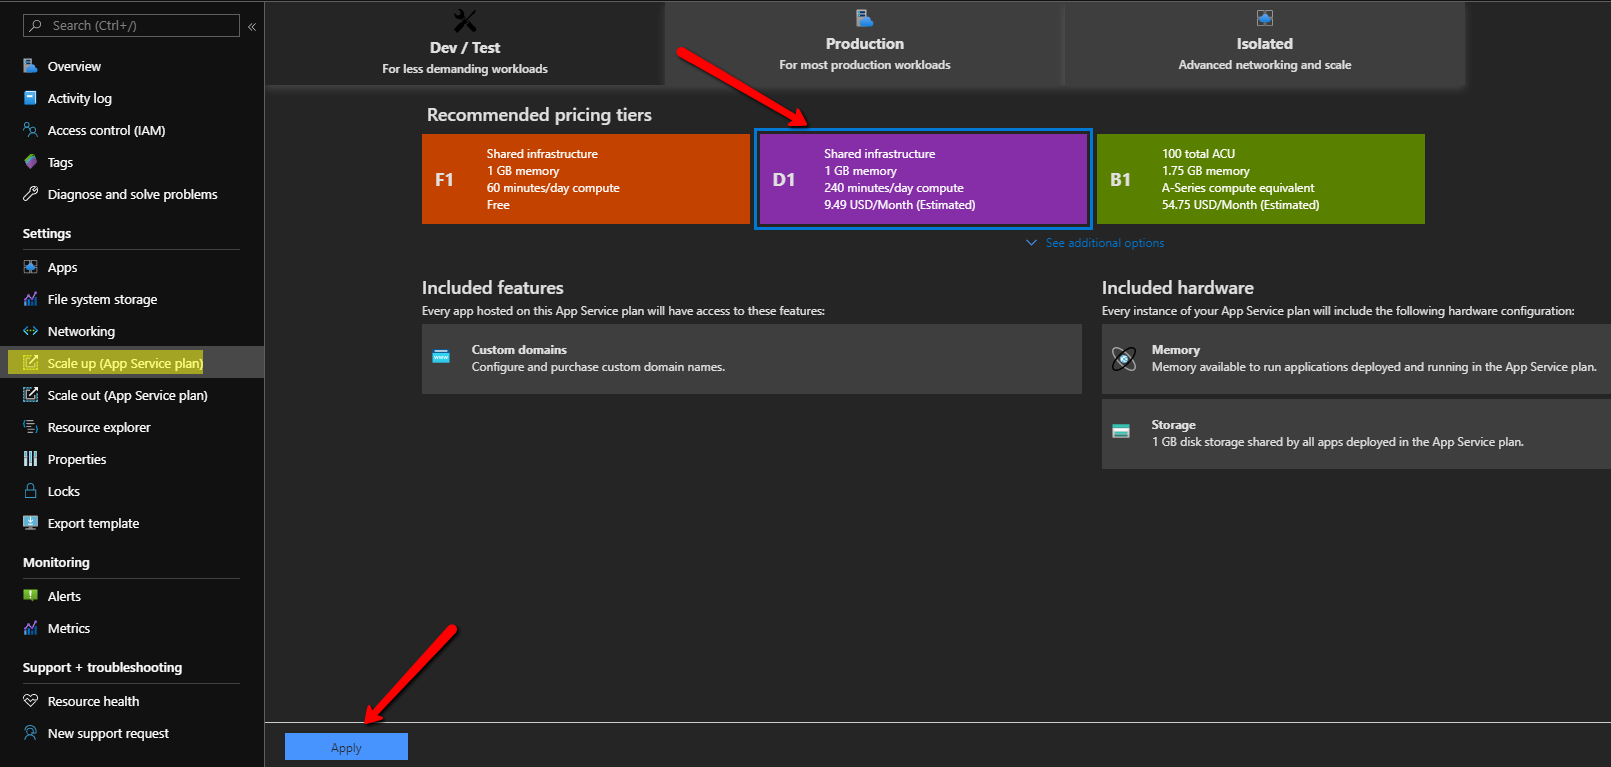
Keep in mind scaling up or down may take some time depending on the workload you have running on your apps running on the App Service Plan. Now let’s scale back down to the F1 pricing tier. Select F1 tier and click apply. It’s as simple as that when scaling up and down your App Service Plans. Now let’s talk about scaling out App Service Plans and something really cool, auto-scaling!
Overview of Scaling Out and Auto-scaling App Service Plans
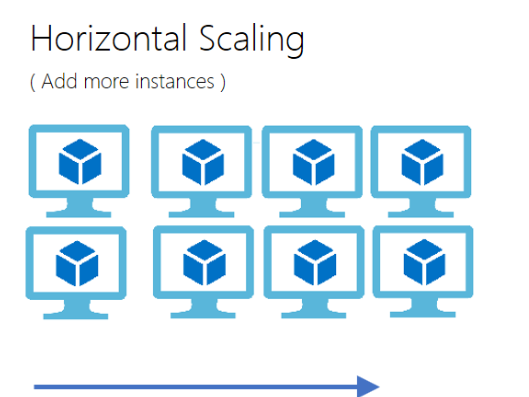
Scaling out App Service Plans is defined as adding more instances (VMs) to your app Service Plan. Instead of adding more compute resources to your App Service plan we are adding more instances (VMs). Scaling out is allows referred to Horizontal Scaling. The maximum number of instances you can have on an App Service Plan is 100 instances which is available on the Isolated (ASE) tier. If you need more instances allocated to an App Service Plan you can call Microsoft support or submit a support ticket.
Auto-scaling allows your App Service Plan to have the right amount of resources available to run and handling workloads running on your apps. It allows you to provision and de-provision VMs and resources depending on the workload running on your app. You specify a maximum and minimum number or instances to add or remove automatically depending on demand. This allows for natural growth of your App Service Plan and saves you money in the long run. For example, let’s say you have a web app that sees high traffic from 9AM to 1PM by configuring auto-scaling your web app will have enough resources to handle that workload during those times. Since the web app scales out during those hours your end users are happy because they are not staring at loading screens. We all know what that means happy customers equals more money.
We can set up auto-scaling based on metrics such as CPU usage, Memory usage, Disk queue length, Ingress/egress data, and application insights. Additionally, like mentioned above in the example we can auto-scale based on a time-frame or date we configure. We can also set up auto-scaling to send us a message when the App Service plan is scaling. Keep in mind when scaling out all your web apps are running on each provisioned instance (VMs) which means if you have a non-busy web app running on the same App Service plan as busy apps they will be provisioned too. We can configure specific web apps to be provisioned based on auto-scaling (Per-App Auto-scaling) but that is an advanced topic that we will not discuss in this blog.
When designing application, we want to design them stateless to take advantage of auto-scaling. We can run into an issue referred to as session-affinity which means a user session will continue sending requests to a specific instance (VMs) even after auto-scaling. We can configure the a load balancer to route the users requests to different instances in the que to help Combate session-affinity. Another thing to note is the auto-scaling feature is only available at the standard level pricing tier. There are several options on how to configure auto-scaling which are listed below.
-
Azure Portal
-
Azure CLI
-
Azure ARM Templates
-
PowerShell
-
Azure REST API
Setting up Auto-scaling App Service Plan
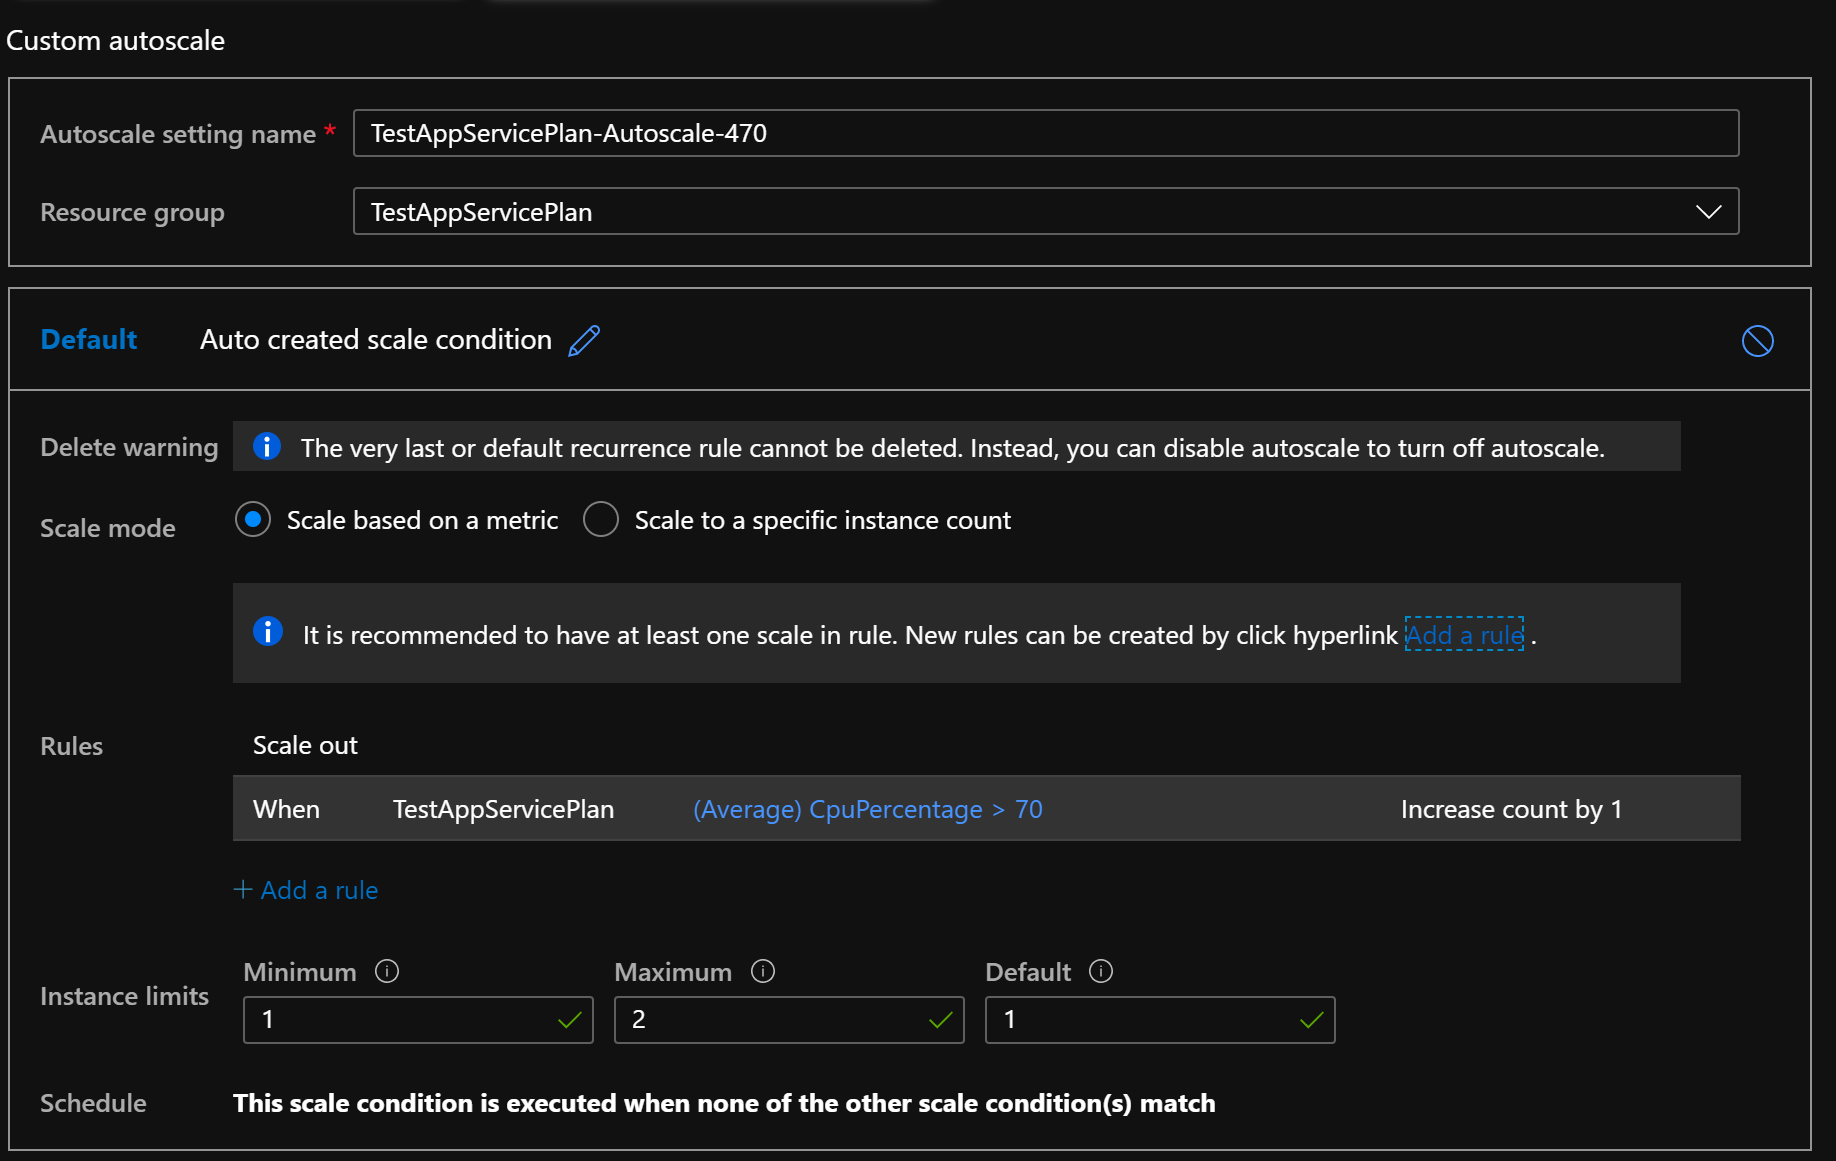
Navigate to your App Service Plan and click on the ‘Scale out (App Service Plan)’ tab. Here you will have an option to perform a manual scale out of a custom auto-scale. If you want to perform a manual scale out, select that option and change the ‘Instance count’ to how many instances (VMs) you would like to scale-out. Alternatively, we can enable auto-scaling. By selecting that option, a set of parameters will appear to set up an auto-scaling condition. We can keep the default name and the default resource group.
There are two options for the ‘Scale Mode’, one being ‘Scale based on metric’ and another being ‘Scale to a specific instance count’. We can scale up and add another instance by choosing the ‘Scale to a specific instance count’ then setting the ‘Instance count’ to 1. We can add multiple auto-scale condition by clicking the ‘Add a scale condition’ link. Let’s select the ‘Scale based on metric’ option and set our min and max instance (VM) limits. There is a default parameter that is set to 1 which indicates that at all time there will always be 1 instance online and available. There is an option to tie a schedule to the auto-scaling condition as well. In our case we will set it between 6 AM and 6 PM.
Under ‘Rules’ lets add a rule that the condition will ad-hear to. A new window will open on the right-hand side of the screen. The ‘Metric resource’ option refers to the resource we would like this condition to be applied too. In our case we will keep it set to ‘Current resource’ and page down to the ‘Actions’ section. The ‘Operation’ we will set will be ‘Increase count by’ and we want to set the ‘Instance count’ equal to 1. The ‘Cool down’ option refers to the amount of time after the condition has been met where the scale out condition will not be evaluated. We will set the ‘Cool down’ to 5 minutes, which means for 5 minutes after we scale out to another instance the condition will be disabled. The ‘Criteria’ section refers to what metrics have to be met to scale out our App Service Plan. The ‘Criteria’ section can change depending on the scope we set at the ‘Metric resource’ level of the condition. We will set the ‘Time aggregation’ to average and keep the ‘Metric namespace’ set to default (App Service Plan Standard Metrics). For the ‘Metric name’ we will keep the default ‘CPU percentage’. Please note the ‘1-minute time grain’ label under ‘Metric name’ drop down, this refers to the average over a minute time-span. So, the condition evaluates the average CPU percentage of 1 minute.
For the ‘operator’ we will set it equal to ‘Greater than’ and the ‘Metric Threshold to trigger scale action’ set to 70%. The ‘Duration’ parameter we will set to 10 minutes. Now if the average 1-minute time space is greater than 70% for 10 minutes then this scale out condition will be met. We do have an option to set the ‘Time grain statistic’ to another option but we will keep it at average. Click ‘Add’ at the bottom of the screen to add the scale rule.
There is a recommended option to add a ‘Scale in’ rule set so the app service plan can scale back in to its original size. This is recommended because if that scale in rule is not set the app service plan will just scale out and stay at the size. We are not going to set that rule due to the scope of this demo but you can add a scale in rule by click on the recommended rule.
We talked about the b scaling up and down App Service plans. We also talked about how to scale up and down app service plans manually and how to set auto-scaling conditions. This is a great resource you can utilize when build out your app service plans which in the long run will save you money and make your customers happy.
Upcoming:
-
Optimizing App Service Plan
-
Monitoring App Service Plans
-
Converting GUI build definition in YAML